PICK OF THIS WEEK -
Week # 03
* * * * * * * * * *
This work is by Corinna Taylor
* * * * * * * * * *
This work is by Corinna Taylor
TITLE:
Cut Letter #2
#1: This week's work is by Corinna Taylor. It is a single piece of cut paper, approximately 8"x12". It is from month 1, "Modernizing a Traditional Calligraphic Hand" (Blackletter Variations). The verse is from "The Stolen Child" by William Butler Yeats. The models for the boy and the fairy are my son and his close friend from childhood photos. The cut paper and background are both handmade. Most of the cutting was done with a #11 Xacto knife. The dark green paper was about the thickness of blotting paper. One of the main lessons I learned was to use thinner paper in future. My index fingertip was
numb for a week. This piece was inspired by the BBC science fiction series "Torchwood."
#2: This work was done by Dave Cook in 2002 for ”Roman Caps: Pen Manipulation” in 26 Seeds: a Year to Grow.
The piece was inspired by a piece that Diana Ludwig did in our 1995 class. She had done the grid locked caps to make the word CHOCOLATE with chocolate wrappers show in the background in the counter spaces. When we had your 2002 class in New York I had see the movie Forrest Gump and knew then I had to do the box of chocolates.
I had created my roman caps and made copies at different sizes and played around with the words to grid lock them into a square shape. I used both phrases from the movie….'Life is like a box of chocolates' and 'You never know what your gonna get' as I knew I had to have two layers of chocolates. Once I had the layout I looked for a square box I could use….preferably a chocolate box. Didn't have much luck finding anything that would fit the bill but found one that had toiletries in it. Took the toiletries out and covered the box with gold wrapping paper.
On the lid I glued the word LIFE that I had cut from card stock and then wrapped the lid with gold wrapping paper. Using my finger I ran it over the lid to make the LIFE letters stand out as if they had been embossed onto the lid. I cut two pieces of gold matt board to fit inside the box. I then took the two phrases to Kinkos and had them print in red from the black letters onto card stock about 3/8" less than the size of the matt board(to give a gold boarder around the letters). The next step was to cut out the counters and glue them to the matt board.
In the box I had to add a piece of cardboard half the depth of the box from the bottom of the box so the first phrase would sit on it rather than the chocolates. Added the chocolates for the first layer and then added the first phrase. I created another tray from cardboard for the top layer and added the chocolates and the matt board on top of that adding broad ribbon underneath the tray so that the top tray could be lifted out to show the bottom tray. It was worth all that effort to see the faces of the rest of the class when I opened the box of "LIFE" a real Kodak moment.
Looking back at all my efforts I should have found a box before doing the grid lock as I was working with a square box theme…..not many square chocolate boxes out there. As things turned, out our dog Turbo found the box of chocolates in my study a couple of years later and destroyed the top layer of the box and ate the chocolates. Still have the original top card "You never know what your gonna get"……how ironic.
#3. This work was done by Robin Gebhart in Seattle in 2016 for the session “Modernizing a Traditional Calligraphic Hand: Blackletter” in PRIMITIVE TO
MODERN.
At our first Primitive to Modern class, Reggie taught several blackletter hands and encouraged us to create a cut-out piece for our homework. I kept thinking about a favorite quote from Shakespeare’s Macbeth, the “Song of the Witches.” I roughly sketched it out on a notepad, using all of the hands we had learned. I felt good about the potential of it - but immediately started whining quietly to myself: There was too much text, it would be too large, take too much time, and I would absolutely mess it up somewhere along the way.
But the idea kept nagging at me, so I started working on it. I practiced the lettering on Gilbert Bond, then transferred it to a large sheet of Tyvek, using my light pad. (Tyvek is a sheet created from thin synthetic materials. It is difficult to tear, but easy to cut and most often used to protect buildings during construction.)
Transferring the image this way let me be precise in the placement and cutting of the letters. I started in the middle, with the Elvis Blackletter in the steam. When that was completed, I covered it up front and back and moved on to the top, then bottom. I took my time cutting out the letters and thinking it through.
On the Friday before class, the cutting was complete, but the Tyvek was still white. So I grabbed a hake brush and covered it in Moon Palace Sumi to give it the black color. Then I breathed a huge sigh of relief!
Final size is 16” x 27,” mounted on black ¼” foam core with a backing sheet
of Canson Mi-Teintes yellow, which was gone over with orange pastels to create a dynamic background. (Thank you Reggie, for helping me out with that!)
|
|
New Special Gilding Techniques: 3-D and
Textures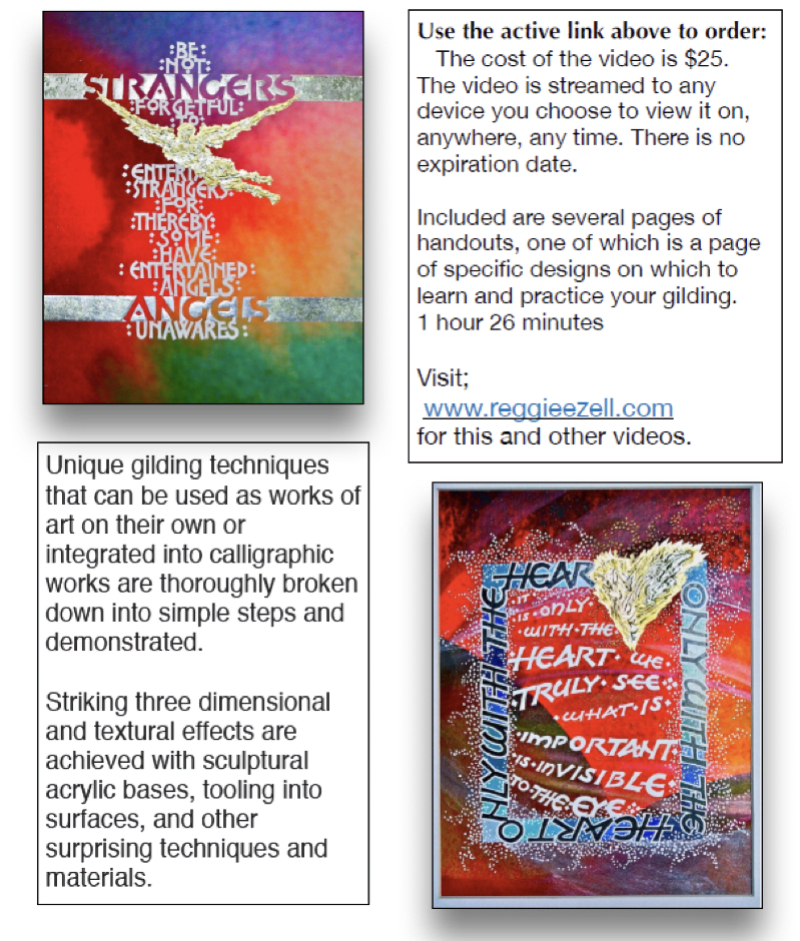  Click on http://www.reggieezell.com/thepick You can enjoy all the Pics of the Week from 2009 through 2020, archived on the home page of my website www.reggieezell.com —————————————————————————— You can contact me directly: contactreggie@comcast.net or 773-202-8321 __________________________________________ Click to see several short (free) Calligraphy videos: http://www.youtube.com/reggieezell ____________________________________________________ Full length calligraphy VIDEOS and PORTFOLIOS by Reggie: www.reggieezell.com 
 Follow me on Instagram and Facebook (@reggieezellcalligraphy) https://instagram.com/reggieezellcalligraphy?igshid=148dz3cpok6 https://www.facebook.com/reggieezellcalligraphy/ |
UNSUBSCRIBE from these emails - click below.
